How To Clean Car Headlights

How To Clean Car Headlights

Restore Clarity and Improve Safety

Over time, your car’s headlights can become cloudy, yellowed or dull, making your vehicle look older and compromising your visibility on the road. Diminished headlights are not just a cosmetic issue — they can reduce light output by up to 80 percent, which poses a serious safety risk when driving at night or in bad weather.

In this guide, you will learn how to clean car headlights using different methods, what causes them to deteriorate and when it is best to choose professional help like Clean Me’s headlight restoration service.

Whether you drive a new car or an older model, this article will help you bring back that clear, bright shine to your headlights and keep your vehicle safe and looking its best.

Why Do Headlights Become Cloudy?

Modern car headlights are made of polycarbonate plastic, which is durable but prone to oxidation and UV damage. Exposure to sunlight, harsh weather and road debris gradually wears away the protective coating on the lens, leading to:

  • Yellowing and cloudiness

  • Fine scratches and pitting

  • Reduced light output

  • Diminished appearance of the vehicle

This process is natural and happens over time, even with regular car washing. Fortunately, there are simple and effective ways to clean and restore your headlights.


How Often Should You Clean Your Headlights?

If you notice your headlights looking foggy, dull or discoloured, it’s time to clean them. Ideally, you should inspect them every few months and address any build-up before it gets worse.

For many drivers, a proper headlight clean once or twice a year is sufficient to keep them in top condition. However, if your car is frequently exposed to strong sun, salt roads or harsh environments, you may need to clean them more often.


How to Clean Car Headlights at Home

Here are several ways to clean car headlights, ranging from basic DIY solutions to more advanced restoration techniques.

Method 1: Soap and Water (Basic Clean)

This is ideal for regular maintenance and removing surface dirt.

What you’ll need:

  • Car shampoo or mild dish soap

  • Microfibre cloths

  • Bucket of warm water

Steps:

  1. Rinse the headlights with water to remove loose dirt.

  2. Mix car shampoo in a bucket and apply it with a microfibre cloth.

  3. Scrub the surface gently to remove bugs, grime and road film.

  4. Rinse and dry with a clean cloth.

While this method won’t remove oxidation, it’s a great first step before moving on to deeper cleaning.


Method 2: Toothpaste Polish (Quick DIY Fix)

Toothpaste contains mild abrasives that can remove minor oxidation and restore some clarity.

What you’ll need:

  • Toothpaste (non-gel, with baking soda preferred)

  • Toothbrush or sponge

  • Water

  • Microfibre cloth

Steps:

  1. Clean the headlight with soap and water, then dry.

  2. Apply a small amount of toothpaste directly to the headlight.

  3. Rub in circular motions with a toothbrush or sponge for 3 to 5 minutes.

  4. Rinse thoroughly with water and dry with a clean cloth.

This method is cheap and easy, but results are temporary and usually only improve light cloudiness.


Method 3: Baking Soda and Vinegar Paste

Another home remedy involves using common household items with slightly more cleaning power.

What you’ll need:

  • Baking soda

  • White vinegar

  • Bowl and spoon

  • Microfibre cloth

Steps:

  1. Mix equal parts baking soda and vinegar to form a paste.

  2. Apply the paste to the headlights using a cloth.

  3. Scrub gently in circular motions for several minutes.

  4. Rinse with water and dry.

While this method can improve clarity, it may not fully remove oxidation or deeper damage.


Method 4: Wet Sanding and Polishing (Advanced DIY)

This is a more aggressive approach to remove heavy oxidation and scratches.

What you’ll need:

  • Sandpaper (start with 1000 grit, then 2000 grit)

  • Masking tape

  • Headlight polish or plastic polish

  • Microfibre towels

  • UV sealant

Steps:

  1. Tape around the headlights to protect your car’s paint.

  2. Wet the headlight and sand with 1000 grit paper in horizontal motions.

  3. Rinse, then repeat with 2000 grit paper in vertical motions.

  4. Dry the headlight and apply plastic polish using a clean cloth.

  5. Once clear, apply a UV sealant to prevent future clouding.

This method gives longer-lasting results but requires care and experience to avoid scratching or damaging the lens.


Why DIY Methods Are Not Always Enough

Although DIY methods offer a temporary fix, they usually don’t last more than a few weeks or months. More importantly, they may not remove deeper layers of oxidation or restore full light output.

Here are some limitations of home techniques:

  • Results may be inconsistent or short-lived

  • Risk of scratching or damaging the lens

  • No long-term protection without UV sealing

  • Time consuming, especially for beginners

If you want long-lasting clarity, improved safety and a professional finish, a dedicated headlight restoration service is often the better choice.


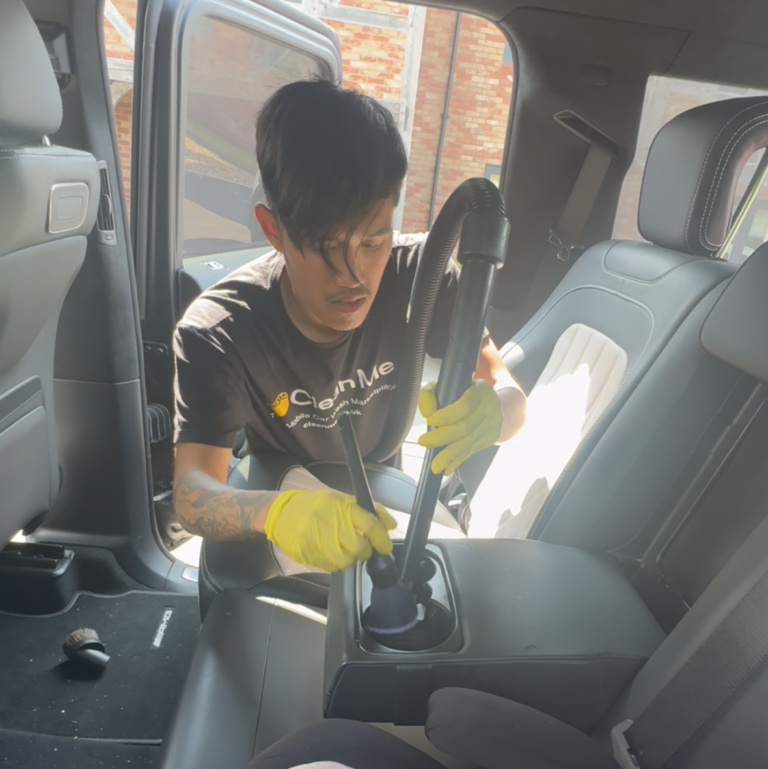
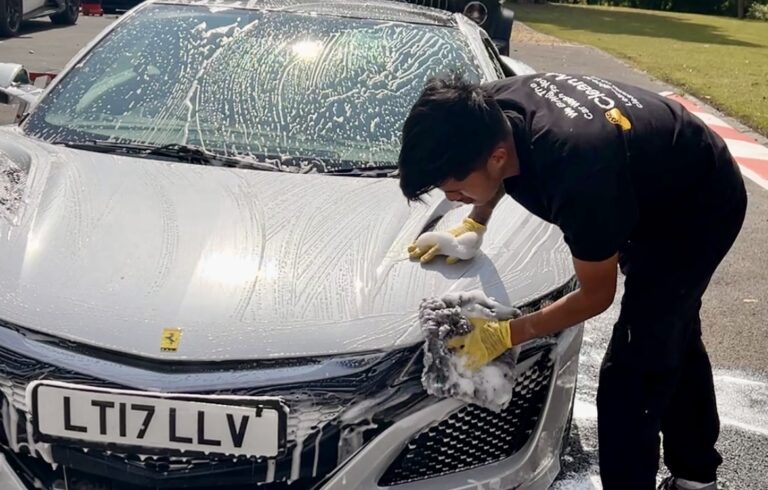
Professional Headlight Restoration with Clean Me

At Clean Me, we connect you with skilled mobile detailers who can restore your headlights to like-new condition without you needing to leave your home or workplace.

What Is a Headlight Restoration?

Our headlight restoration service is designed to remove oxidation, restore transparency and improve nighttime visibility. The process includes:

  • Thorough cleaning and decontamination

  • Wet sanding to remove yellowing and scratches

  • Machine polishing with specialised compounds

  • UV protection to seal the surface and prevent future damage

This professional-grade approach not only makes your headlights look clearer but also significantly boosts their performance on the road.

Benefits of Clean Me’s Headlight Restoration Service

  • Improved Safety: Clear headlights ensure better visibility at night and in poor weather.

  • Professional Finish: Results that DIY methods struggle to match.

  • Mobile Convenience: We send professional detailers to your home, office or wherever you are.

  • Extended Lens Life: Restores clarity without the need for expensive replacements.

  • Affordable Alternative: Much cheaper than buying new headlights.

To book, simply enter your postcode on the Clean Me website and choose a mobile detailer offering headlight restoration near you.


How Long Does Headlight Restoration Last?

A professionally restored headlight can stay clear for up to a year or more, especially when properly sealed with UV protection. The longevity depends on factors such as weather exposure, driving habits and how well you maintain your vehicle afterward.

To maintain the results:

  • Avoid harsh car wash chemicals on the headlights

  • Park in shaded or covered areas where possible

  • Clean the lenses regularly with a pH-neutral cleaner

  • Reapply a UV sealant every 6 to 12 months if needed


Signs It’s Time to Restore Your Headlights

Not sure if your car needs a headlight restoration? Look out for these signs:

  • Cloudy or yellowed lenses

  • Headlights look hazy even after washing

  • Reduced brightness when driving at night

  • Lights scatter or appear dull

  • Failed MOT or road safety inspection

If you notice any of the above, it’s time to act. Clean Me can connect you with local professionals who will bring your headlights back to life quickly and conveniently.


Final Thoughts: Clearer Headlights, Safer Driving

Understanding how to clean car headlights helps you extend the life of your vehicle, improve its appearance and most importantly, stay safer on the road. While DIY methods can offer a quick fix, professional restoration provides superior results that last.

With Clean Me’s headlight restoration service, you no longer have to put up with foggy lenses or reduced visibility. Our network of mobile detailers brings top-tier service directly to your location, saving you time and effort.

Enter your postcode below to restore your headlights and drive with confidence.

How To Clean Car Seats

Interior car valet delivered by Clean Me

How To Clean Car Seats

The Complete Guide To A Spotless Interior

Keeping your car looking its best involves more than just washing the exterior. The interior also needs attention, especially your car seats, which can easily collect dirt, stains, odours and bacteria over time. Whether you are a daily commuter, a parent with young children or someone who often travels with pets, knowing how to clean car seats properly can help maintain a hygienic and pleasant driving experience.

In this guide, we will explore the most effective methods to clean car seats of all types, including fabric, leather and vinyl. You will also learn when it might be better to leave the job to the professionals, such as through Clean Me’s interior deep clean or interior valet services.

Interior car valet delivered by Clean Me

Why Clean Your Car Seats?

Car seats are exposed to everything from dust and body oils to food crumbs, drink spills and muddy clothing. If left untreated, these contaminants can cause unpleasant odours, permanent staining and even promote the growth of bacteria and mould. A regular clean not only keeps your car looking fresh but also:

  • Increases the resale value of your vehicle

  • Reduces allergens and improves air quality inside the car

  • Prevents long-term damage caused by stains and grime

  • Enhances your driving comfort and satisfaction

How Often Should You Clean Car Seats?

A quick vacuum or wipe down should ideally be done every couple of weeks, but a deeper clean is recommended at least every three to six months depending on usage. For example, if you transport pets or children frequently, you may need to clean more often.

Now, let’s look at how to clean car seats based on the material.


How to Clean Fabric Car Seats

Fabric seats are comfortable and widely used, but they tend to absorb stains and odours more than other materials. Here’s a step-by-step method for cleaning them:

What You’ll Need:

  • A vacuum cleaner with upholstery attachment

  • Soft-bristle brush

  • Microfibre cloths

  • Spray bottle

  • Upholstery cleaner or a DIY solution (water, white vinegar and a small amount of dish soap)

Step-by-Step:

  1. Vacuum Thoroughly
    Begin by vacuuming the seats to remove loose dirt, crumbs and pet hair. Be sure to get into the seams and crevices.

  2. Apply Cleaning Solution
    Lightly spray your upholstery cleaner onto the seat. Avoid soaking the fabric as this can lead to mould growth.

  3. Scrub Gently
    Use a soft-bristle brush to work the cleaner into the fabric. Focus on stained or heavily used areas.

  4. Wipe and Rinse
    Dampen a clean microfibre cloth with water and wipe down the seat to remove any soap residue.

  5. Dry
    Allow the seats to air dry with the windows open or use a portable fan. Avoid sitting on the seats until they are fully dry.


How to Clean Leather Car Seats

Leather car seats offer a luxurious look and feel, but they require careful maintenance to prevent cracking or fading.

What You’ll Need:

  • Vacuum cleaner

  • Leather cleaner or mild soap

  • Microfibre cloths

  • Leather conditioner

Step-by-Step:

  1. Vacuum the Surface
    Use a vacuum with a soft brush attachment to remove dust and debris.

  2. Apply Leather Cleaner
    Spray or apply the cleaner using a microfibre cloth, working in small sections.

  3. Wipe Clean
    Wipe away the dirt and grime using a clean, damp cloth. Do not over-wet the leather.

  4. Condition the Leather
    Once dry, apply a leather conditioner to keep the material supple and prevent cracking over time.

  5. Buff the Surface
    Use a dry microfibre cloth to buff the leather and restore its natural sheen.


How to Clean Vinyl Car Seats

Vinyl seats are easier to maintain and generally more resistant to staining.

What You’ll Need:

  • All-purpose cleaner or mild soap

  • Microfibre cloths

  • Soft brush

Step-by-Step:

  1. Wipe Down
    Use a damp cloth to wipe away surface dirt.

  2. Apply Cleaner
    Spray your cleaner on the seat and scrub gently with a soft brush.

  3. Rinse and Dry
    Wipe off with a clean, damp cloth and then dry with a microfibre towel to prevent streaking.


Stain Removal Tips for Car Seats

Even with regular maintenance, stains can appear. Here’s how to tackle common types:

  • Coffee or tea: Mix vinegar with warm water and blot with a cloth

  • Grease or oil: Sprinkle baking soda and let it sit before vacuuming and wiping with dish soap solution

  • Ink: Dab with rubbing alcohol using a cotton ball, but test in an inconspicuous area first

  • Pet accidents: Use enzymatic cleaners to eliminate both the stain and odour

Never scrub too hard as this may damage the fabric or spread the stain further.


When to Book a Professional Interior Clean

While DIY methods work well for light cleaning, they are no substitute for a professional interior detail when it comes to deep-set grime, persistent odours or heavily soiled upholstery. This is where Clean Me can help.

Clean Me’s Interior Valet Service

Our interior valet is ideal for regular maintenance. This service typically includes:

  • Vacuuming of all seats, carpets and mats

  • Cleaning of plastic surfaces and dashboards

  • Interior glass and mirror cleaning

  • Light stain removal

This service keeps your car looking and smelling fresh, perfect for everyday use or a quick refresh before picking up passengers or potential buyers.

Clean Me’s Interior Deep Clean

For more thorough results, our interior deep clean goes further. This service is recommended if:

  • You’ve just bought or sold a used car

  • Your seats are heavily stained or smell unpleasant

  • You’ve had a spillage or accident inside the car

  • You need to remove allergens, mould or bacteria

An interior deep clean includes a full upholstery shampoo, steam cleaning, sanitisation and intensive detail work across all surfaces inside the vehicle. This is the highest level of interior care offered through the Clean Me marketplace.


Mobile Cleaning Made Easy with Clean Me

Cleaning your car seats at home takes time and effort, especially if you are unsure which method is right for your seat material. Instead of risking damage or spending hours scrubbing, you can trust Clean Me to bring expert mobile detailers directly to your doorstep.

With Clean Me, you can:

  • Compare vetted local detailers

  • Book a mobile car valet or deep clean from your phone or laptop

  • Select appointments that fit your schedule

  • Pay securely online

  • Get your car professionally cleaned at home or work

Whether you need a simple vacuum or a full deep clean of your car seats, Clean Me makes it easy.

To get started, just enter your postcode on our website and choose from available services in your area.


Final Thoughts: Clean Car Seats for a Better Drive

Learning how to clean car seats properly helps protect the interior of your vehicle and enhances your overall driving experience. By following the steps outlined above, you can maintain fabric, leather or vinyl seats with confidence.

However, for best results or when facing tough stains and odours, booking a professional service through Clean Me is often the smarter choice. With our interior valet and interior deep clean options, keeping your car’s interior in pristine condition has never been easier.

Next time you wonder how to clean car seats, let Clean Me take care of it for you.

Enter your postcode below to book your car’s interior clean.